Key Takeaways
Learning to use and maintain your tools correctly ensures consistent results and longer-lasting art supplies for various projects.
- Acrylic markers offer a versatile bridge between fluid painting and precise sketching.
- Proper surface preparation is essential to prevent adhesion failures on non-porous materials.
- Maintaining nib health requires regular cleaning and specialized storage habits.
- Understanding pigment quality and valve systems helps in selecting the right tool for specific goals.
- Consistent storage and care habits significantly extend the lifespan of professional-grade markers.
Understanding the versatility of acrylic markers
Acrylic pens provide a unique creative experience that differs significantly from alternative options. Their ability to deliver opaque, fast-drying color makes them a preferred tool for both studio work and on-the-go sketching.
Comparison with oil-based and water-based pens
Unlike traditional alcohol-based or oil-laden variants, these tools rely on a polymer emulsion that mimics the properties of bottled acrylic paints. While alcohol pens rely on solvents that can bleed through paper, Liquitex Professional Acrylic Paint Markers offer a cleaner application suited for multi-layered work, including canvas and wood.
Opacity and layering capabilities
They excel in delivering high coverage, which allows artists to cover previous dark marks or create light-on-dark effects. This opacity stems from the pigment density, which is often superior to entry-level markers found at BLICK Art Materials.
Drying times and lightfastness properties
Most high-quality variants dry within seconds, leaving a matte or semi-gloss finish that resists fading over time. Because they contain archival-grade pigments, the finished colors remain vibrant, preventing the premature wear common in lower-cost dye-based alternatives.
Surface compatibility across porous and non-porous media
These tools work on almost any surface, provided it is free of surface contaminants like dust or grease. They can adhere to everything from raw stretched canvas and porous charcoal paper to smooth glass or polished stone.
Preparing surfaces for acrylic marker application
Success in your artistic journey starts with the state of your substrate. Taking time to clear away debris ensures that the binder within your pigment can bond correctly with the material beneath it.
Cleaning and priming techniques for canvas and wood
Using a clean, dry cloth to remove surface dust is the first step before any mark-making begins. Prime wood or canvas surfaces with a dedicated gesso to create a consistent, absorbent bed that prevents the ink from soaking into the raw grain.
Ensuring proper adhesion on glass and ceramic
Non-porous surfaces offer unique challenges since the ink sits entirely on the top layer. Cleaning the area with isopropyl alcohol helps strip invisible layers of oil, allowing for a more permanent result.
Dealing with texture variations in paper
Rough-textured paper can quickly fray delicate nibs, so choose smooth, heavy-weight bristol or board for the best results. Pressing gently, as recommended by Coloring Bliss, protects the internal valve mechanism from damage while moving across the paper surface.
Preventing color bleed on absorbent materials
Highly absorbent materials like raw cardboard can cause ink to spider-web or "bleed" beyond the stroke. Applying a thin coat of clear sealant or gesso before marking creates an effective barrier that stops the pigment from traveling into the fibers.
Essential techniques for artists
Developing a controlled hand is essential for high-quality illustration. By adjusting your touch and rhythm, you transition from basic marks to complex, professional-looking compositions.
Mastering line weight and pressure control
Variation in line weight adds visual interest, transforming a static drawing into a dynamic work of art. The following table provides a guide for understanding how user input affects the results.
| Technique | Pressure Level | Resulting Line |
|---|---|---|
| Light Touch | Minimal | Thin, delicate hair-lines |
| Steady Speed | Medium | Consistent uniform stroke |
| Heavy Press | High | Wide or blooming fill |
Practicing these pressure levels consistently allows you to expand your repertoire of visual effects, ensuring your work looks deliberate rather than accidental.
Blending and gradient effects
Achieving smooth transitions requires working while the paint remains slightly wet. You can use this to your advantage to create soft, ethereal transitions on canvas or paper.
Layering colors without smearing
Wait for each layer to dry completely before applying a new color on top. This sequence ensures you maintain clean, sharp edges without inadvertently blending colors or muddying your palette into unpleasant neutral tones.
Adding highlights and fine line detail work
Save the lightest colors for your final touches to ensure they pop against darker background layers. You must focus on these elements:
- Ensure the base layer is 100% dry or set.
- Use a fine-point nib for precise, controlled highlights.
- Vary the intensity to mimic natural light reflections.
- Keep your hand steady by using a bridge or rest.
Working in this logical order ensures that your brightest whites and sharpest lines remain pristine and impactful on the finished project.
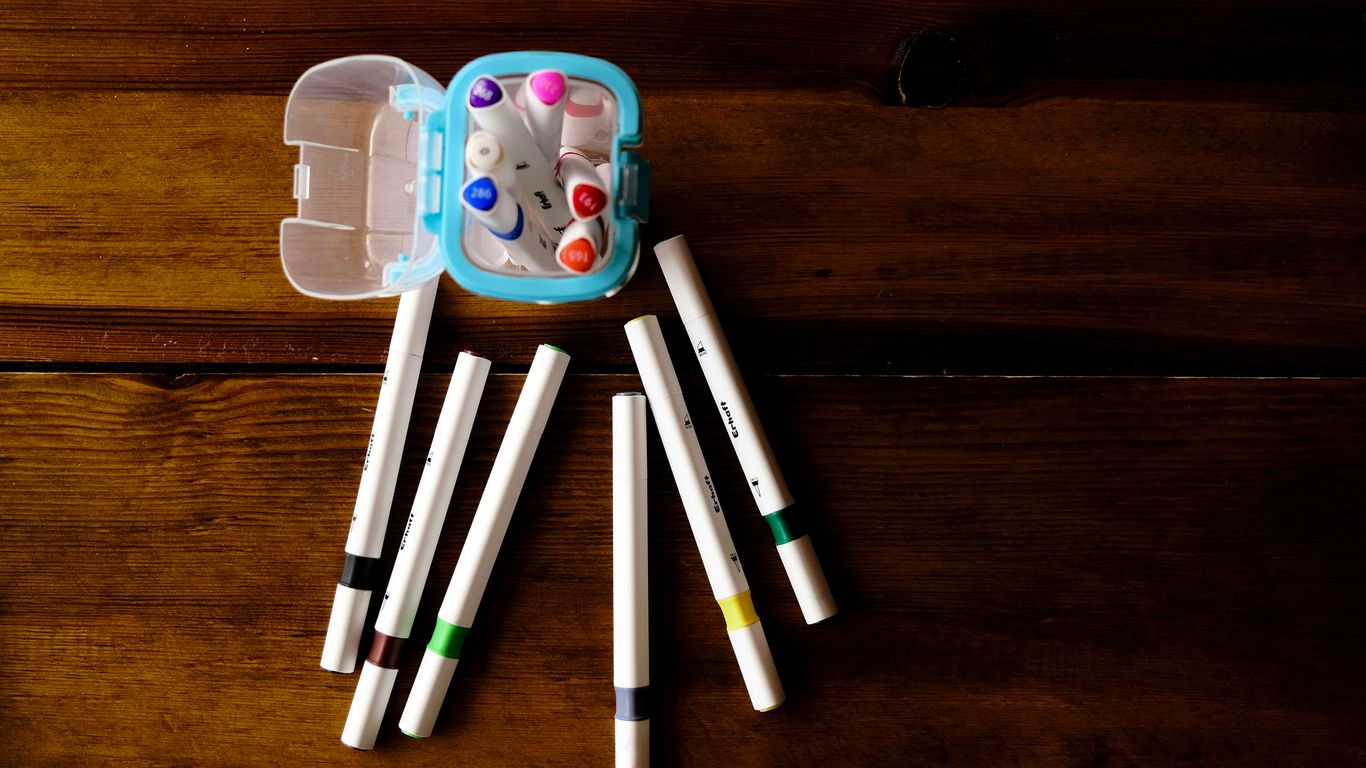
Maintaining and storing your markers

Proper maintenance is the best way to get the most value from your art supplies. If you ignore these basic guidelines, the nibs may clog or the ink may lose its integrity over time.
Proper cap sealing to prevent tip drying
Always press the cap firmly until you hear an audible click to seal the internal cavity from the air. This simple action prevents the acrylic polymer from drying into a solid plug inside the chamber.
Optimal orientation for storage
Keeping markers in a horizontal position helps distribute the pigment and binder evenly within the reservoir. Storing them vertically for long periods can cause either the tip to dry out or the pigment to settle into the back of the pen.
Cleaning clogged tips or nibs
If you find a nib has become blocked, gently extract it and soak it in warm water or a specialized solvent. Often, a quick rinse resolves the problem and restores the smooth ink flow required for detailed work.
Guidelines for temperature-controlled environments
High heat can cause the ink to separate or, worse, pressurize the internal container. Always keep your stash in a cool, shaded area to extend the chemical stability of the markers.
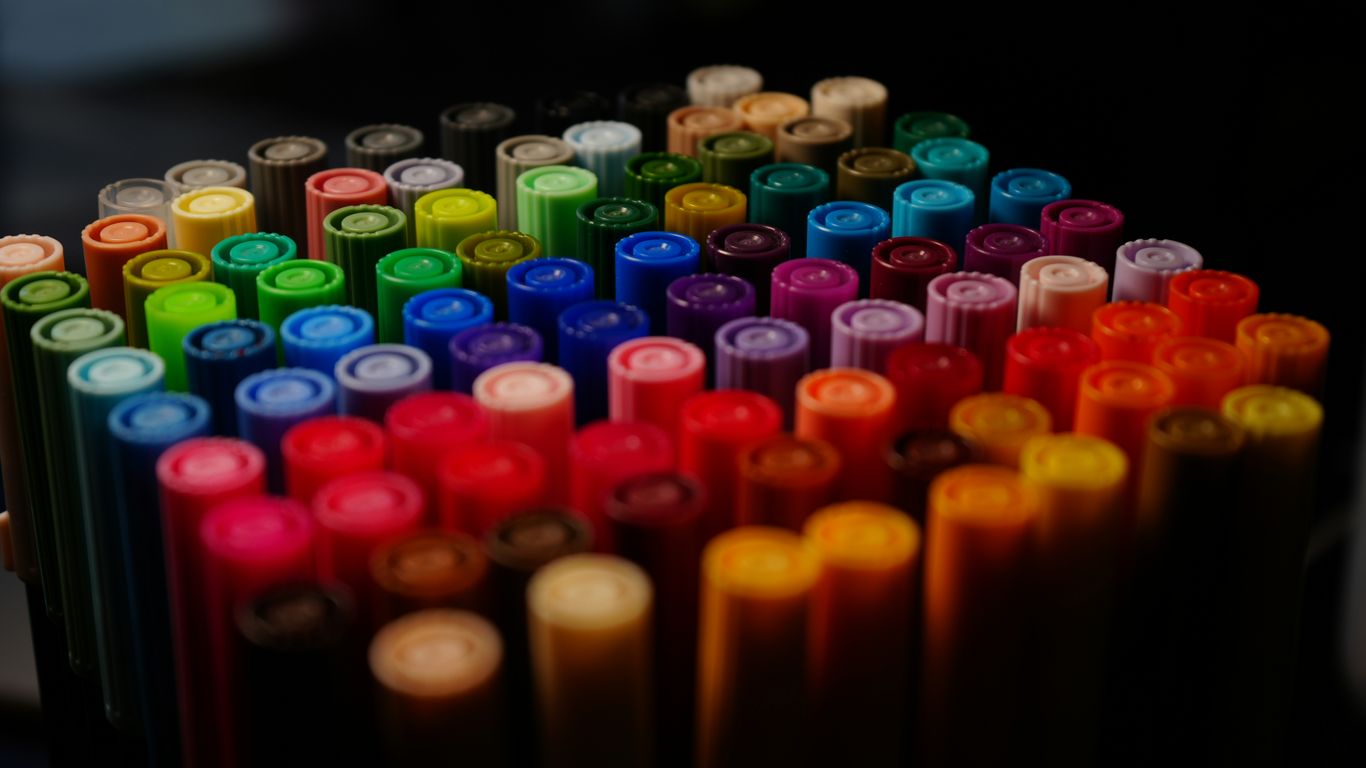
Choosing the right marker for your project
Markers serve a vast array of niche creative needs. Selecting your favorite set from the Ohuhu range or other quality providers requires looking at both the technical specifications and your own artistic goals.
Evaluating different tip sizes and shapes
Chisel tips are excellent for calligraphy and wide areas, while round or extra-fine tips are superior for small detail work. Choose the hardware that complements your natural line style.
Assessing pigment quality and color range
Look for markers labeled as lightfast if you intend to display your finished pieces in a gallery or your home. A broad color range allows for more sophisticated mixing, though even a basic set is enough for bold, block-color designs.
Understanding flow consistency and valve action
Most modern tools utilize a pump-action valve that releases ink only when activated. This ensures you never have a mess on your table, providing you with a predictable, controlled YouTube video of your own progress.
Matching marker permanence to the project duration
Not all markers need to be archival; temporary work might require a set that can be cleaned off easily with water. Always check the permanence rating if you want the art to remain unchanged for years.
Conclusion
Mastering these versatile tools opens new avenues for expression, provided you maintain them with care and choose the right specifications for your unique creative goals. Through consistent practice and proper storage, you can ensure your favorite markers remain reliable partners for every project.
Frequently Asked Questions
Can acrylic markers be used on fabric?
Yes, they work well on most fabrics, though the ink should be heat-set with an iron to ensure maximum permanence before washing.
How do I remove stray marks from unwanted surfaces?
Because they dry into a flexible plastic film, you can often gently scrape them off smooth, non-porous surfaces; otherwise, a light touch of rubbing alcohol will dissolve most fresh or cured acrylic pigment.
Are these markers safe for children to use?
Most high-quality versions are non-toxic, but always check the label for specific safety warnings to ensure the brand meets your personal standards for safety.
Do I need to seal the finished artwork?
While not always necessary, applying a clear acrylic spray or varnish can provide an extra layer of protection against UV rays, dust, and physical abrasion common in high-traffic areas.
Can I refill my markers when they run out?
Some professional-grade markers are designed to be refilled, which is both cost-effective and environmentally friendly in the long run.
How long should I wait between layers?
Waiting between 5 to 15 minutes is usually sufficient, though higher humidity can extend this time; always touch-test a small, inconspicuous area first.
Why does my marker produce bubbling ink?
Bubbling usually indicates that the valve is being pumped too vigorously or the nib has become saturated with air; letting it rest horizontally for a while often resolves the issue.
Contact Our Team
Reach out to us today if you have questions about our product range or need help selecting the perfect tool. You can find our information in our contact section to start a conversation with our support staff.